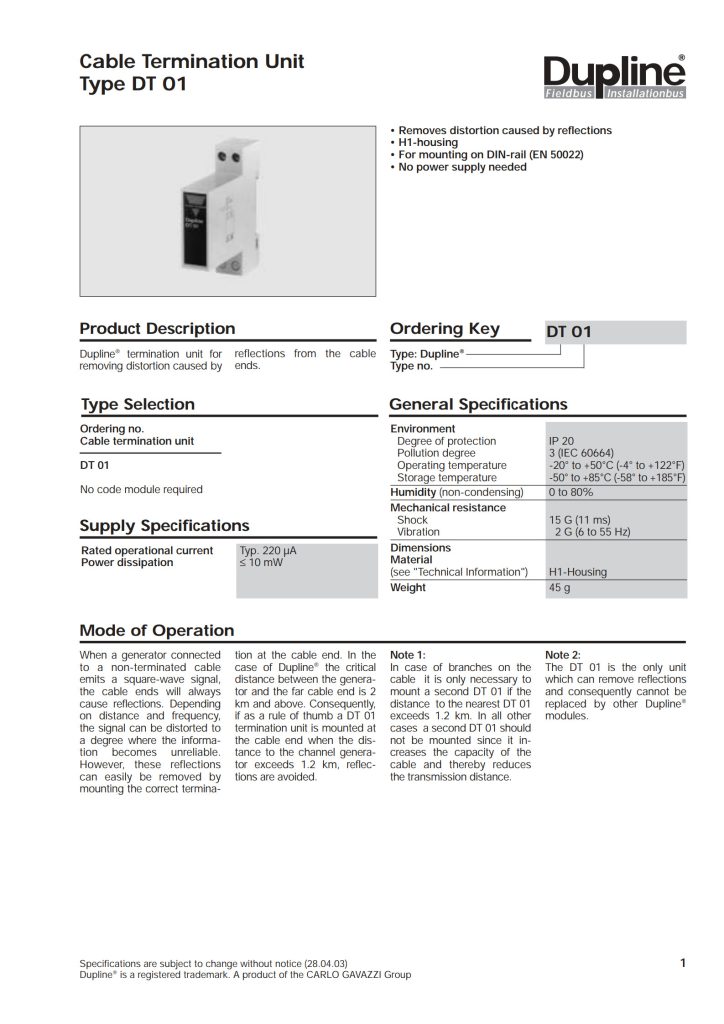
Comprehensive Installation Guide for Carlo Gavazzi DT01 Transducer
In the world of industrial automation and mechanical testing, precision is paramount. Whether you’re monitoring the health of a motor, optimizing a production line, or ensuring the safety of a critical system, accurately measuring torque is non-negotiable. The Carlo Gavazzi DT01 Dynamic Torque Transducer is a robust and reliable workhorse designed for exactly these tasks.
However, even the most advanced sensor is only as good as its installation. Proper mounting, wiring, and configuration are critical to achieving the accuracy, reliability, and longevity promised by the DT01. This comprehensive guide will walk you through the entire process, from unboxing to commissioning, ensuring you get the best possible performance from your investment.
1. Understanding Your DT01 Torque Transducer
Before you pick up a tool, it’s crucial to understand what you’re working with. The DT01 is a reaction torque sensor, meaning it measures torque by being installed in-line between a driving element (like a motor) and a driven load (like a pump, gearbox, or spindle).
Key Principles:
- It is a static (non-rotating) measurement device.
- The housing reacts against the torque applied, and this reaction force is measured by internal strain gauges.
- It provides a highly accurate electrical signal (typically 4-20mA or 0-10V) proportional to the measured torque.
Common Applications:
- Motor and engine testing stands
- Pump and compressor performance monitoring
- Quality control in assembly processes (e.g., verifying bolt torque)
- Lifelong condition monitoring of rotating equipment
2. Pre-Installation Checklist: Safety and Preparation
Safety First!
- De-energize: Ensure all power sources to the driving and driven equipment are locked out and tagged out (LOTO).
- Depressurize: If connected to hydraulic or pneumatic systems, ensure they are depressurized.
- Secure the Load: Mechanically secure both the driving and driven components to prevent unexpected movement.
Gather Your Tools and Components:
- The Carlo Gavazzi DT01 transducer
- Appropriate mounting hardware (flanges, couplings, bolts)
- High-flex, shielded cable for signal connection
- A stable power supply matching the DT01’s requirements (e.g., 24V DC)
- Multimeter for verification
- Standard mechanical tools (wrenches, torque wrench, alignment tools)
Inspect the Unit:
Visually inspect the DT01 for any signs of physical damage that may have occurred during shipping. Check the model number and ratings on the nameplate to confirm it matches your application’s requirements for torque range, supply voltage, and output signal.
3. Mechanical Installation: The Foundation of Accuracy
This is the most critical step. A poor mechanical setup will lead to inaccurate readings, premature wear, or sensor failure.
Step 1: Mounting the Transducer
The DT01 must be mounted securely and rigidly to a baseplate or structure. The mounting surface must be flat, clean, and substantial enough to handle the full-scale torque without flexing.
- Use the provided or specified high-tensile bolts and tighten them to the recommended torque value specified in the official datasheet. Do not use the transducer’s housing as a lifting point.
Step 2: Connecting the Drive and Load
The DT01 is installed in series with the torque path. You will need to connect the drive side (input) and the load side (output) to the transducer’s flanges or shafts.
- Use Flexible Couplings: It is absolutely essential to use high-quality, flexible couplings on both sides of the DT01. These couplings compensate for minor misalignments (axial, radial, and angular) that are inevitable in any real-world system. Rigid connections will impose parasitic forces and bending moments on the transducer, causing significant measurement errors and damaging the sensitive sensing element.
- Precision Alignment: Before final tightening, meticulously align the motor shaft, the DT01, and the load shaft. Use dial indicators or laser alignment tools for the best results. Proper alignment is not a luxury; it is a necessity for the health of the entire driveline, including the transducer.
- Avoid External Forces: Ensure that no external pipes, cables, or hoses are putting a strain on the DT01’s housing. These can create off-axis loads that distort the torque measurement.
Step 3: Consider the Environment
- If the environment is prone to vibrations, consider using vibration-dampening mounts for the baseplate.
- Protect the transducer from direct exposure to water, oil, or excessive dust if it is not already housed in an appropriate IP-rated enclosure.
4. Electrical Installation: Clean Signals for Reliable Data
A clean electrical installation is vital to avoid signal noise and interference.
Step 1: Wiring the Power and Output
Refer to the wiring diagram on the DT01’s label or in the datasheet. The connections are typically made to a terminal block under a cover on the housing.
- Power Supply: Connect the specified DC power supply (e.g., +24V and 0V). Use a stable, regulated power supply. Ripple and noise on the power line can directly affect the output signal.
- Output Signal: Connect the output wires to your PLC, DCS, or data acquisition system.
- For Voltage Output (0-10V): You will typically have Signal+ and Signal- wires.
- For Current Output (4-20mA): You will typically have a single output wire, as the loop is completed through the power supply.
Step 2: The Critical Role of Shielding
Electrical noise from motors, VFDs, and power lines is the enemy of accurate analog measurement.
- Use Shielded Cable: Always use a high-quality, shielded twisted-pair cable for all signal and power lines connected to the DT01.
- Ground the Shield Correctly: Connect the cable’s shield braid to the functional earth (FE) or ground terminal at one end only, typically at the control panel side. Do not connect both ends, as this can create ground loops, which are a primary source of noise. Leave the shield unconnected (or insulated) at the sensor end.
- Ground the Transducer: Connect the DT01’s earth/ground terminal to a solid, clean earth ground point. This provides a path for interference to drain safely.
Step 3: Cable Routing
Route sensor cables away from power cables, motor leads, and high-frequency noise sources. If they must cross, ensure they do so at a 90-degree angle. Secure cables using cable ties to prevent strain on the electrical connections.
5. Configuration and Calibration
While the DT01 is typically pre-calibrated from the factory, you may need to configure the scaling in your control system.
Step 1: Zero Adjustment (Taring)
Before taking any measurements, you must “zero” the transducer. This compensates for any minor offset caused by the weight of couplings or small misalignments.
- Ensure the system is in a no-load condition (the drive is off, and no torque is being applied).
- Using the multimeter, measure the output signal. For a 4-20mA output, it should be very close to 4.00mA. For a 0-10V output, it should be near 0V.
- Most DT01 models feature a multi-turn potentiometer for zero adjustment. Carefully adjust this pot until the output reads the exact zero-scale value (4.000mA or 0.000V).
Step 2: Scaling in the PLC/Controller
In your PLC or SCADA system, you must map the input signal to the correct engineering units.
- Example for 4-20mA output:
- Let’s assume your DT01 has a range of 0 to 500 Nm.
- 4 mA should be scaled to 0 Nm in your PLC.
- 20 mA should be scaled to 500 Nm in your PLC.
- The PLC will then linearly interpolate any value in between.
6. Commissioning and Troubleshooting
Initial Startup:
- Double-check all mechanical and electrical connections.
- Re-apply power to the control system.
- Slowly apply power to the drive motor and observe the transducer’s output under no-load and then under load. The readings should be stable and respond smoothly to changes in load.
Common Issues and Solutions:
- Problem: Unstable or Noisy Signal.
- Solution: Check shield connection (single-ended ground). Verify cable routing away from noise sources. Ensure power supply is clean.
- Problem: Reading is Consistently Inaccurate.
- Solution: Re-check mechanical alignment and ensure no external forces are on the housing. Re-perform the zeroing procedure under correct no-load conditions. Verify scaling in the PLC.
- Problem: Signal Drifts Over Time.
- Solution: This can be caused by temperature variations. Allow the system to warm up to its operating temperature and re-zero. Check for mechanical loosening.
- Problem: No Output Signal.
- Solution: Verify power supply voltage at the transducer’s terminals. Check for broken wires or loose connections. Confirm the control system’s input card is functioning correctly.
7. Best Practices for Long-Term Performance
- Regular Inspection: Periodically check for loose bolts, signs of corrosion, or damage to cables.
- Re-zero Periodically: Over long periods, the zero point can drift slightly. Schedule periodic re-zeroing during maintenance shutdowns.
- Prevent Overload: While the DT01 has a safe overload rating, consistently operating it near or beyond its maximum capacity will reduce its lifespan and accuracy. Select a transducer with a range where your normal operating torque is between 30% and 80% of the full scale.
- Keep Records: Document the installation details, initial setup parameters, and any calibration data for future reference.
Conclusion
The Carlo Gavazzi DT01 is a precision instrument that, when installed correctly, becomes a trusted partner in your automation and monitoring efforts. By meticulously following these steps—emphasizing rigid mounting, precise alignment, clean electrical practices, and proper configuration—you will unlock its full potential. A well-installed DT01 will deliver years of reliable, accurate data, helping you optimize processes, ensure quality, and predict maintenance needs, ultimately saving time and money while enhancing operational safety.